
South America · Window Manufacturer
Rohden Portas e Janelas — Window Cleaning Guide
🇧🇷 Brazil · Last reviewed by Justin Orloff

Quick Facts
founded
Established in Santa Catarina, Brazil
hq
Santa Catarina, Brazil
primaryMaterials
Timber and uPVC
glazingPartner
System manufacturer - glazing integrated into product
marketTier
Premium
Brand at a Glance
- Country: Brazil
- Location: Santa Catarina - Brazilian woodworking heartland
- Primary materials: Timber and uPVC
- Market position: Premium doors and windows
- Climate context: Subtropical - wet winter, humid summer, high annual rainfall
- Key risk: Timber swelling, seal failure, and finish degradation in high humidity
Product Range
- Timber windows
- Timber doors
- uPVC windows and doors
Why This System
Timber windows in Santa Catarina's subtropical climate are a high-maintenance product compared to aluminium or uPVC. The wood species, surface finish, and seal condition are all variables that affect cleaning protocol - and all three change over the life of the window. Wood swells in high humidity. Santa Catarina winter brings sustained high humidity and rainfall - timber window frames absorb moisture and expand. If the expansion is within the design tolerance, no damage occurs. If the window has existing seal or paint failure, moisture entry accelerates decay. Premium timber windows typically carry oil or lacquer finishes. These finishes protect the timber from moisture. Cleaning products that are safe on glass or aluminium can strip or damage timber finishes if they contact the frame surface. Solvent-based cleaners, acidic glass cleaners, and alkaline degreasers are all potential timber finish hazards.
Step 1 of 2: Manufacturer Recommendations
Official Care Guidance
Step 2 of 2: The Orloffs Protocol
The Orloffs Protocol
Since 1999 I've cleaned hundreds, if not thousands, of different window brands and systems. The physics of clean glass don't change from one brand to the next. Follow the steps below and you'll clean your Rohden Portas e Janelas windows to a professional standard — guaranteed.
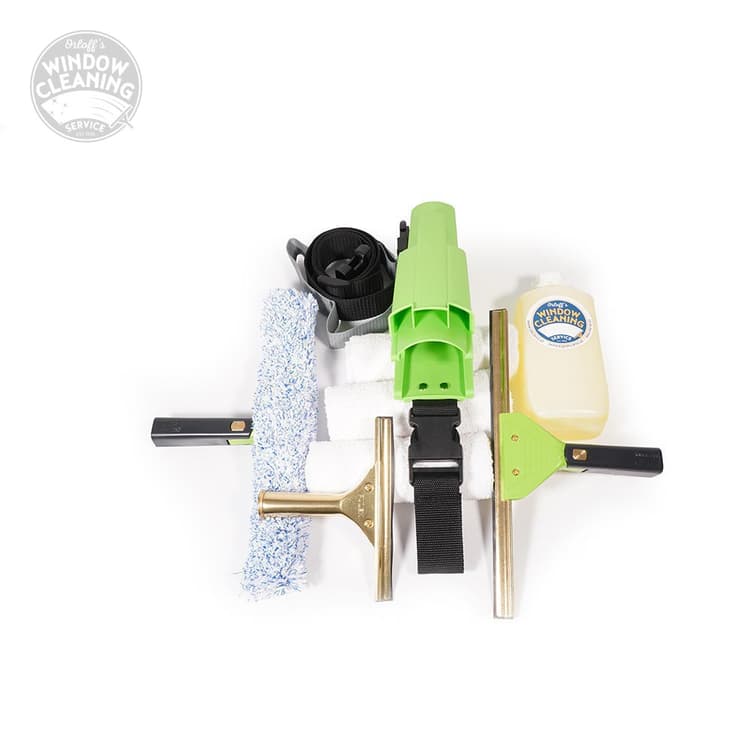
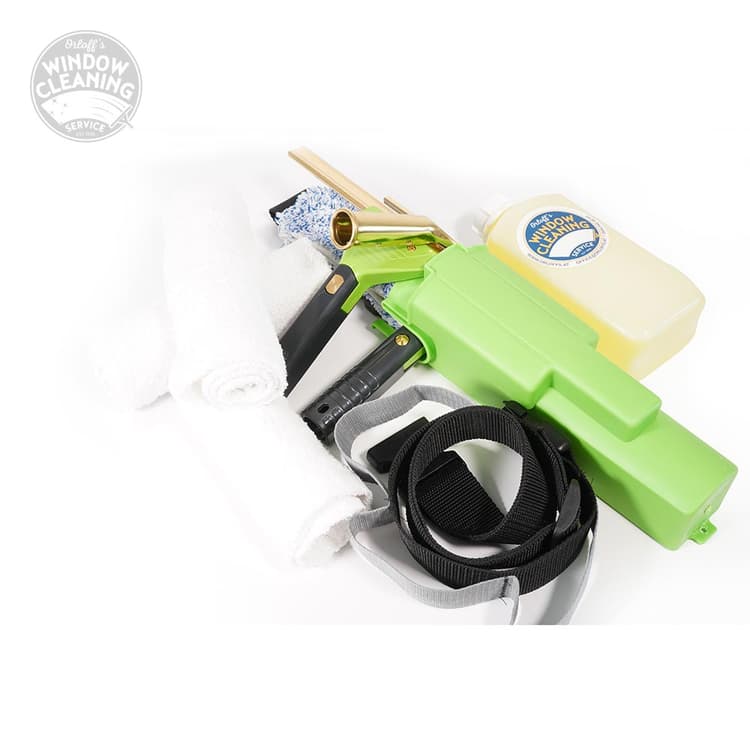
Pro Tools
My daily tool list. This is what I carry to every job.
Follow these steps in order. Each one builds on the last. This is the same sequence I use on every Rohden Portas e Janelas installation.
- 1
Preparation -- before any water touches the glass
Fill the bucket with at least 10 litres of water. Add soap for cleaning power -- enough to cut through environmental deposits, not so much you are fighting foam.
Before touching the glass, brush down the surface to remove loose dust, spiderwebs, and debris. Any grit left on the glass during the wash phase risks scratching during agitation.
Check the timber frame condition before you start. Confirm which cleaning product is safe for that surface before opening any bottle.
Cover anything below the windows that cannot be moved.
- 2
Agitation -- apply and work the solution
Dip the microfiber T-bar completely into the soap water, both sides. Remove excess water with your hand so it does not drip. Apply the solution across the entire glass surface with overlapping passes.
The goal is to fully dissolve and release every deposit from the glass surface. Anything not released during agitation gets transported across the glass by the squeegee as a smear.
For stubborn spots -- insect marks, salt residue, environmental deposits -- re-apply soap water and allow it to soak for a full minute before agitating again. Use more soap water, not more pressure.
For panels above arm reach: attach the T-bar to an extension pole. Work in sections -- top first, then middle, then bottom -- keeping each section wet until you squeegee it.
Rinse the T-bar cover regularly during the job. A dirty applicator causes microscopic scratches that accumulate over time.
- 3
Detail the frame edge before squeegeeing
Use your 100% cotton towelling rag, finger pressed into the fabric, to work into every junction and remove pooled soap water before the squeegee pass.
This prevents drips running down onto already-cleaned areas during squeegeeing and keeps soap water out of drainage channels.
On Rohden timber frames, pay particular attention to the bottom edge where glass meets the frame sill -- water pooled here runs into drainage openings and leaves residue over time.
- 4
The squeegee
Tilt the squeegee at a slight angle so soap water spills from one side of the channel only -- not both. If the rubber is jumping or squeaking, either the rubber is not lubricated enough or the glass surface has warmed.
Cutting in: start with the rubber blade making first contact on a dry edge of the glass.
Side to side: horizontal passes across the panel. Works well on wide sections. Top to bottom: vertical passes down the panel. Works well on tall narrow sections.
The J tune: one smooth unbroken motion top to bottom, wrist rotating at each end to reverse without lifting the rubber. The most efficient method on larger panels -- but it requires training before applying it to premium glass.
Wipe the rubber dry after every pass. Overlap each stroke by 2-3 cm.
- 5
Final edge detailing
After squeegeeing, there is always a residual line of water along the bottom edge and at the panel sides. Take a dry cotton rag, fold to a clean corner, and detail these edges in one smooth pass.
On Rohden frames, the bottom edge where glass meets the sill requires the most careful attention. Water left here runs into drainage and leaves residue that affects the next clean.
Rotate the rag to a clean section after every pass. If the rag picks up grit at any point, replace it immediately.
- 6
Frame wipe and hardware check
On Rohden timber frames: use a barely damp cloth and dry immediately. Never allow water to sit on timber joints or frame corners -- moisture causes swelling and paint failure.
Check that all drainage openings are clear and unobstructed. Water must be able to flow freely -- a blocked channel leads to accumulation that affects seal performance over time.
Operate every opening window through its full range. Stiff handles or resistance at locking points indicate hardware that needs lubrication. Flag it to the owner rather than forcing it.
Pro Tips
- Never clean Rohden timber windows on rainy days in Santa Catarina winter - the ambient humidity negates any drying effort and extends the moisture exposure time on the timber
- Photograph corner joint condition at every visit on timber Rohden installations - the photographic record is your protection if a client later claims cleaning caused damage that was pre-existing decay
What NOT To Do
- Do not use acid-based glass cleaners near timber frames - runoff strips oil and lacquer finishes
- Do not use solvent-based cleaners on any timber frame surface
- Do not allow water to pool at timber frame joints or on timber sill surfaces
- Do not leave damp cloths in contact with timber frame surfaces
- Do not use abrasive products on any timber surface
- Do not ignore seal failure at timber frame joints - delay causes wood decay in Santa Catarina humidity
Bundle Kits and Tool Recommendations
Bundle Kit
Cleaning Frequency
Clean every 4–8 weeks depending on environment.
Frequently Asked Questions
Field Notes
“Santa Catarina winter is the highest risk season for timber Rohden windows. June to August brings sustained wet conditions that drive moisture absorption. Increase inspection frequency and reduce cleaning product use on frames during this period. South and west-facing timber frames in Santa Catarina receive the most wind-driven rain and show seal failure earliest. Prioritise these aspects in every inspection. If a Rohden timber window shows corner joint darkening (grey or black staining at the timber corner joint), this indicates water has entered the joint. This is beyond cleaning intervention - flag it to the property manager as a maintenance emergency.”
Justin Orloff
What's next for you?
The Skill
New to window cleaning?
Start with the core techniques before tackling premium systems.
Start Learning →The Standard
Upskill your team
Covers every system, product type, and tricky scenario.
View The Standard →Manufacturer
Partner with Orloffs
Are you Rohden Portas e Janelas or a similar manufacturer? Let's create official cleaning guidance together.
Get in Touch →